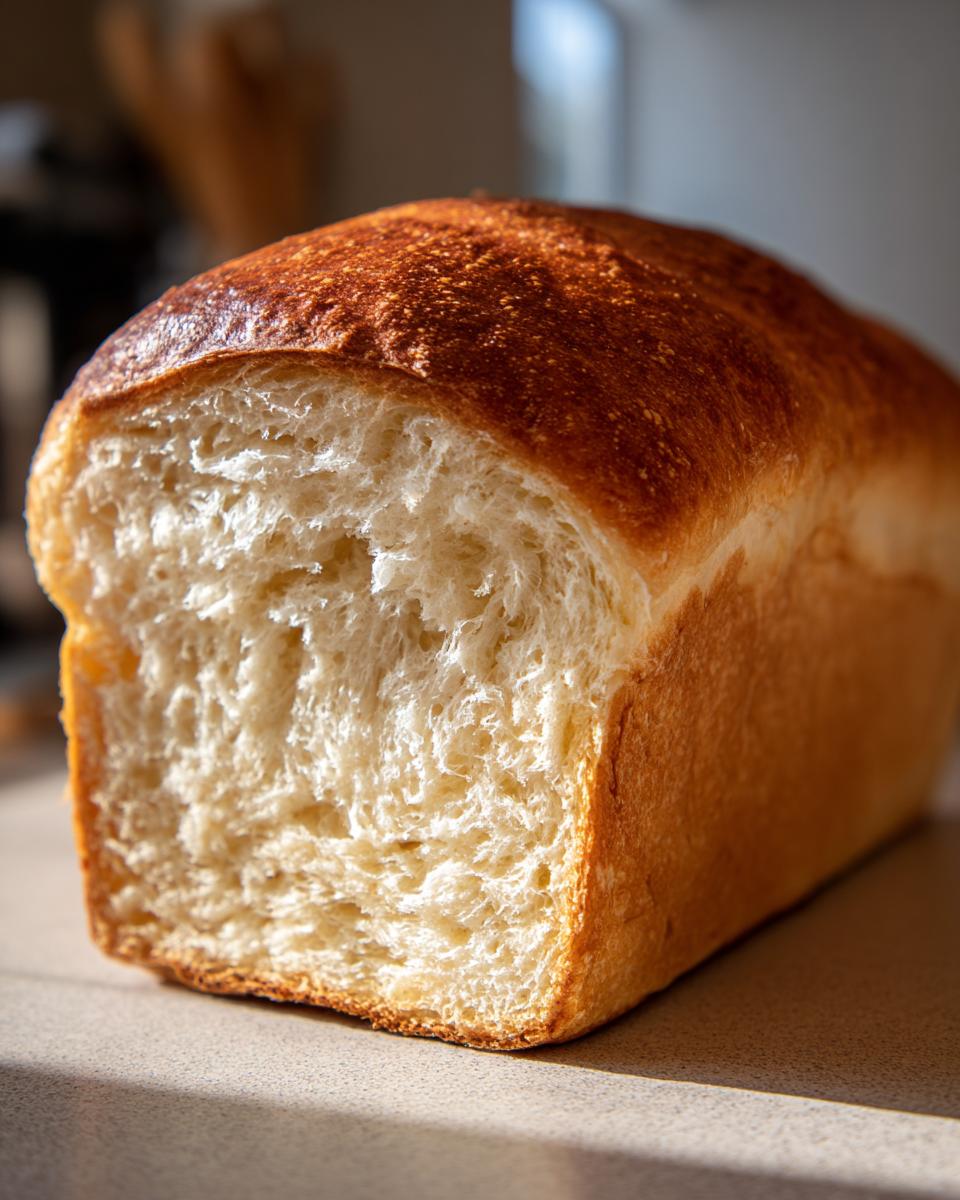
There’s nothing quite like the smell of freshly baked bread filling your kitchen, is there? I’ve baked countless loaves over the years, but this Classic White Sandwich Bread remains my go-to recipe for its perfect balance of simplicity and satisfaction. When I first started baking gluten-free bread, I went through more failed attempts than I’d care to admit – dense bricks, crumbly messes, you name it! But after years of tweaking, this version has become my foolproof favorite that even my non-gluten-free friends rave about.
What makes this bread special isn’t just that it’s gluten-free – it’s that it actually tastes and feels like real bread. Soft enough for sandwiches yet sturdy enough to hold your favorite toppings, with a delicate crumb that makes you forget it’s missing traditional flour. The secret? A precise blend of simple ingredients that come together beautifully when you give them just the right amount of love and patience (and okay, maybe a little elbow grease when mixing).
Trust me, once you experience the magic of pulling a golden loaf from your own oven, you’ll never look at store-bought gluten-free bread the same way again. Let me show you how to make this Classic White Sandwich Bread that’ll become a staple in your kitchen too.

Why You’ll Love This Classic White Sandwich Bread
Let me tell you why this bread has earned a permanent spot in my kitchen – and why it’ll win you over too:
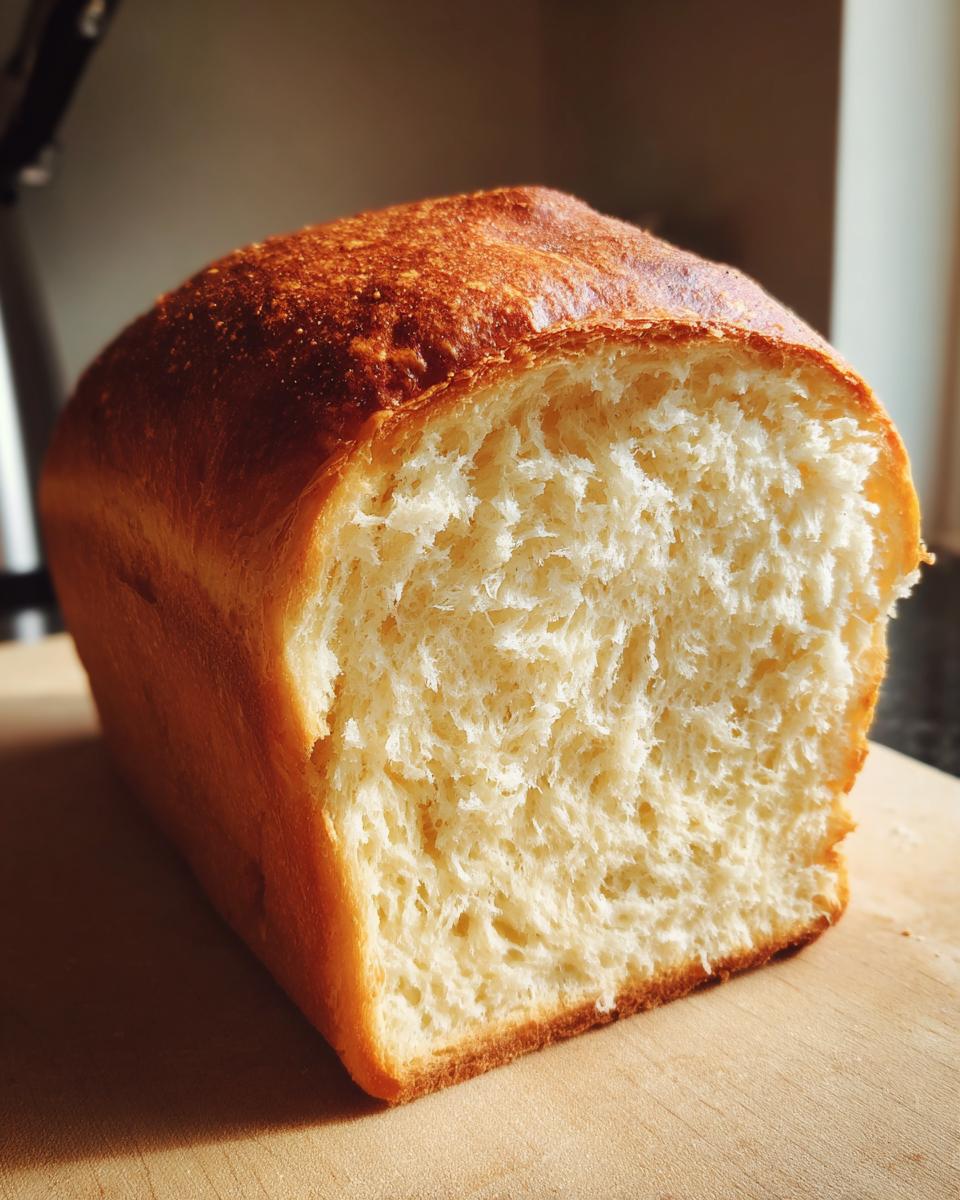
- That perfect texture – Soft, springy, and sliceable without crumbling (a rare feat for gluten-free bread!)
- Simple pantry ingredients – No weird additives or hard-to-find specialty items
- Versatile as can be – Makes killer toast, holds up to sandwiches, and tastes amazing with just butter
- Foolproof method – My tested techniques ensure success even if you’re new to gluten-free baking
- That fresh-baked magic – Nothing beats slicing into a warm loaf you made yourself
Seriously – one bite and you’ll wonder why you ever settled for store-bought!
Ingredients for Classic White Sandwich Bread
Here’s everything you’ll need to make this dreamy loaf – I’ve grouped them so you can mix like a pro:
Dry Ingredients
- 2 cups gluten-free all-purpose flour (my favorite blend has rice flour and tapioca starch)
- 1 tablespoon sugar – just enough to feed the yeast
- 1 teaspoon salt – don’t skip this flavor booster!
- 1 tablespoon active dry yeast – check the expiration date!
Wet Ingredients
- 1 cup warm water (about 110°F, think baby bottle temperature)
- 2 tablespoons olive oil – or melted butter if you’re feeling fancy
- 2 large eggs, room temperature works best
See? Nothing crazy, just good, simple ingredients that work magic together. Now let’s get mixing!
Equipment Needed for Classic White Sandwich Bread
Before we dive in, let’s gather our tools. You probably have most of these already!
- 8.5×4.5 inch loaf pan – my go-to size for perfect sandwich slices
- Large mixing bowl – or your stand mixer if you’ve got one
- Spatula for scraping down the sides
- Measuring cups/spoons precision matters in gluten-free baking!
That’s it, no fancy gadgets required. Now let’s make some bread!
How to Make Classic White Sandwich Bread
Okay, let’s get our hands dirty (well, maybe just a little floury)! Follow these simple steps and you’ll have perfect gluten-free sandwich bread before you know it.
Step 1: Preparing the Dough
First, whisk together all your dry ingredients in a large bowl. This ensures even distribution of the yeast. Then make a well in the center and pour in your warm water, oil, and eggs. Now comes the fun part: mix everything until you’ve got a smooth, slightly sticky dough. Don’t worry if it seems wetter than regular bread dough, that’s normal for gluten-free!
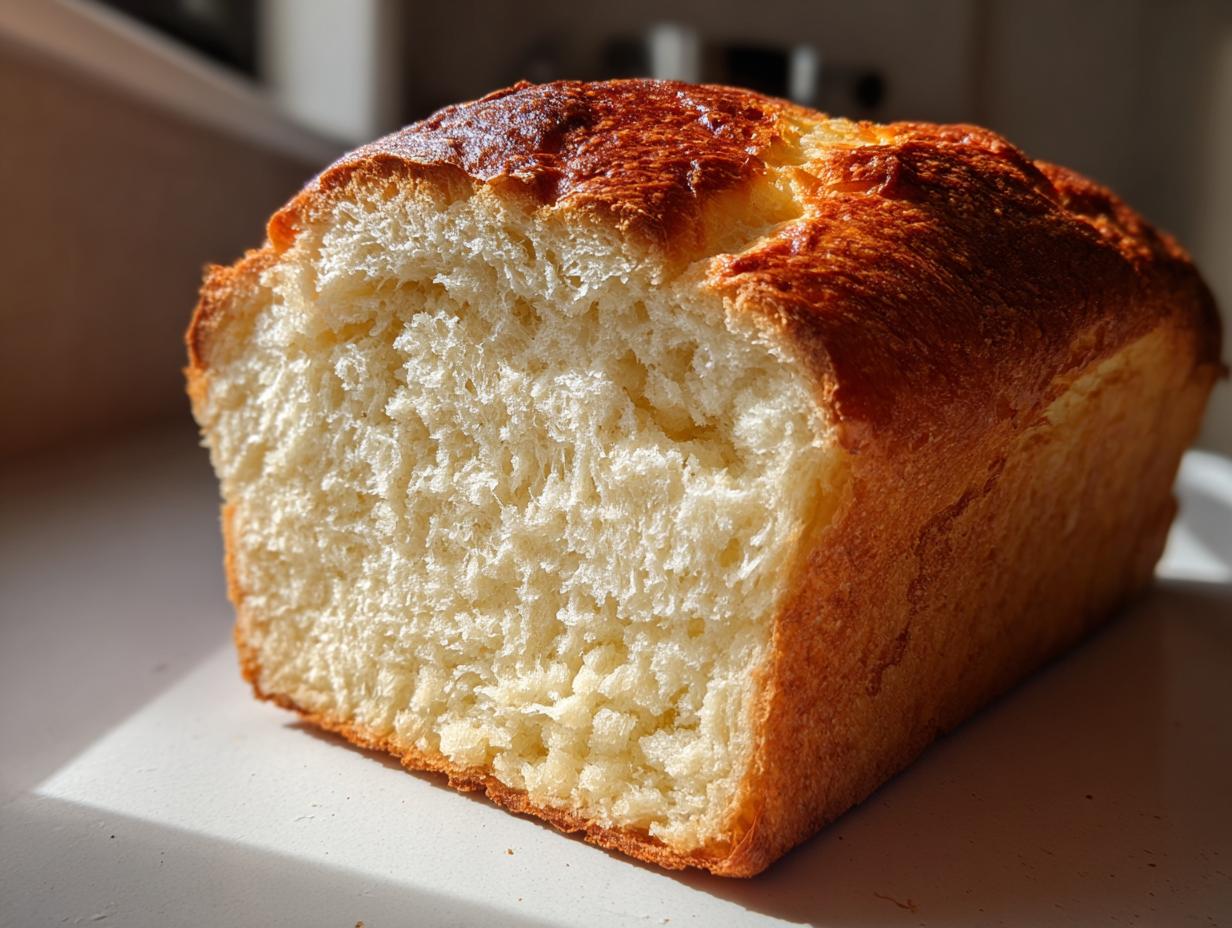
Step 2: Baking the Classic White Sandwich Bread
Pour your dough into the greased loaf pan and smooth the top with a wet spatula (trust me, this prevents sticking). Pop it in your preheated 375°F oven for about 40 minutes. You’ll know it’s done when the top is beautifully golden brown and it sounds hollow when tapped, that magical bread-baking moment!
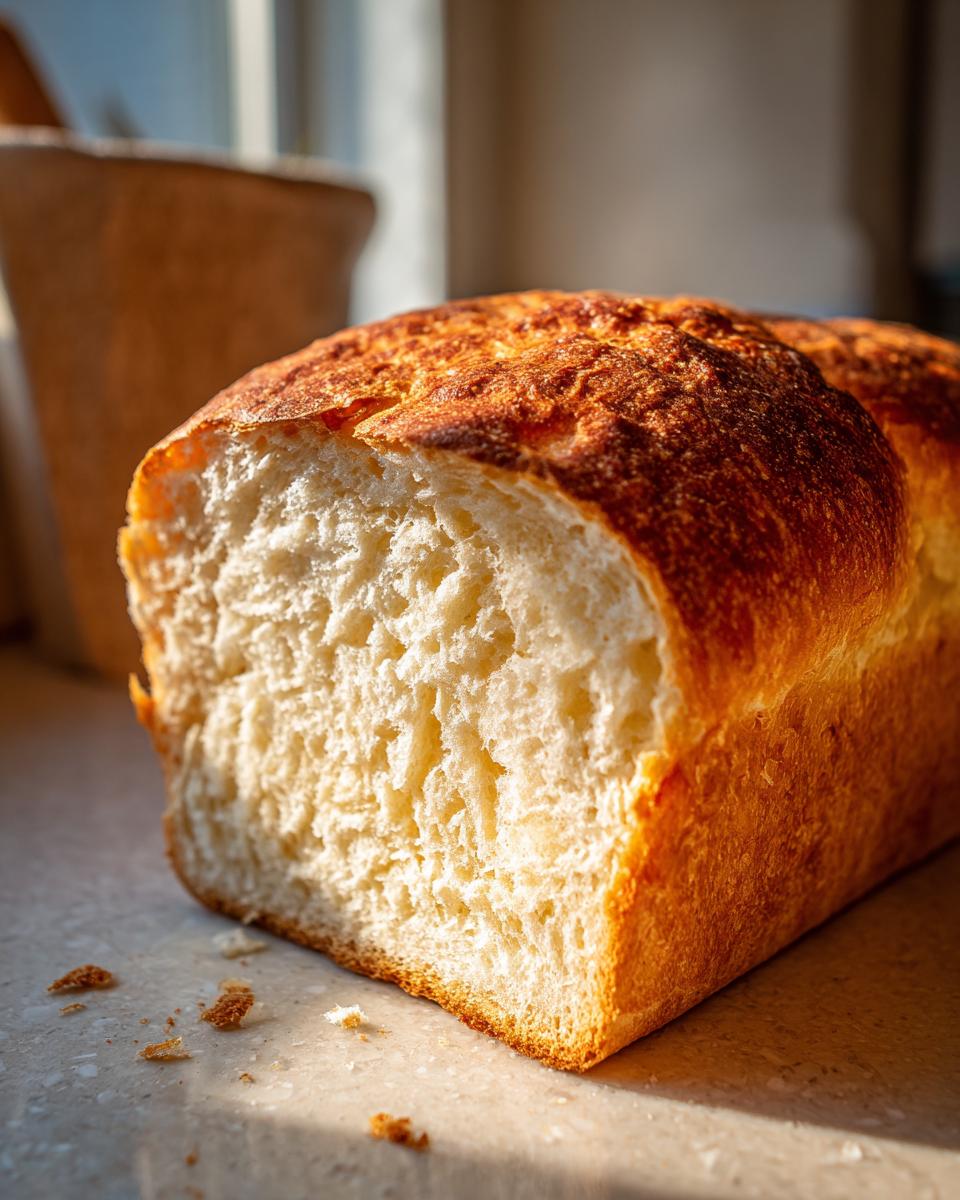
Step 3: Cooling and Serving
Here’s where patience is key: let the bread cool in the pan for 10 minutes before transferring to a wire rack. Resist the urge to slice it right away! Waiting until it’s completely cool (about an hour) gives the crumb time to set properly. Then slice away and enjoy your homemade masterpiece!
Tips for Perfect Classic White Sandwich Bread
After baking more loaves than I can count, I’ve picked up some game-changing tricks that’ll take your bread from good to “wow!”:
- Test your yeast first If it doesn’t bubble in warm water with a pinch of sugar after 5 minutes, it’s time for fresh yeast.
- Don’t overmix. Once the dough comes together, stop! Overworking makes bread dense.
- The window test: Pinch some dough – if you can stretch it thin without tearing, it’s perfect.
- Cool completely. I know it’s hard to wait, but slicing warm bread leads to a gummy texture.
- Storage secret: Keep it in a bread box or paper bag first day, then transfer to an airtight container.
Follow these and you’ll avoid all the mistakes I made in my early baking days!
Ingredient Substitutions for Classic White Sandwich Bread
Life happens here’s how to adapt this recipe when you’re missing something or want to mix it up:
- Flour swap: Almond flour works in a pinch, but expect a denser texture. For best results, use a gluten-free blend with xanthan gum.
- Sweetener change: Honey or maple syrup can replace sugar, just reduce water slightly since they add moisture.
- Egg alternative: Flax eggs (1 tbsp ground flax + 3 tbsp water per egg) work surprisingly well!
- Oil option: Melted coconut oil or avocado oil substitutes beautifully for olive oil.
Remember too
Storing and Reheating Classic White Sandwich Bread
Here’s how to keep your bread fresh and tasty for days, because let’s be honest, homemade bread never lasts long in my house! Store cooled bread in an airtight container at room temperature for up to 3 days. For longer storage, slice and freeze in a zip-top bag (toast slices straight from frozen so good!). To revive day-old bread, pop slices in a 350°F oven for 5 minutes or toast lightly. The smell alone will have you reaching for butter!
Nutritional Information for Classic White Sandwich Bread
Here’s what you’re getting in each delicious slice (based on 12 slices per loaf):
- 120 calories. Perfect for guilt-free snacking
- 20g carbs Balanced with protein and fiber
- 3g protein from those wholesome eggs
- 4g fat just enough for that rich texture
Remember, exact numbers may vary slightly based on your specific ingredients and slice thickness. But hey, when it tastes this good, who’s counting?
Frequently Asked Questions About Classic White Sandwich Bread
Q1. Can I use regular all-purpose flour instead of gluten-free?
Oh, honey, I wish it were that simple! Regular flour behaves completely differently – the gluten-free blend creates the right texture without wheat. If you don’t need gluten-free, I’d recommend using my traditional sandwich bread recipe instead. Trust me, swapping flours here leads to dense, sad bread.
Q2. Why did my bread collapse in the middle?
Been there! Usually, this means either your yeast was old (always check expiration dates!) or you sliced into it too soon. Gluten-free bread needs that full cooling time to set properly. Also, make sure your oven temperature is accurate with an oven thermometer!
Q3. Can I make this bread without eggs?
Absolutely! I’ve had great success with flax eggs (1 tbsp ground flax + 3 tbsp water per egg). The texture will be slightly denser but still delicious. Just be sure to let it cool completely before slicing.
Q4. How do I know when the bread is fully baked?
Look for that gorgeous golden crust and listen for the hollow sound when tapped. If unsure, an instant-read thermometer inserted in the center should read about 190°F. And don’t worry, gluten-free bread tends to brown faster than regular!
Nothing makes me happier than seeing your bread-baking adventures! Did your loaf turn out perfectly golden? Maybe you added a fun twist with herbs or seeds? Drop a comment below, I’d love to hear about your experience (and see photos if you’re feeling fancy!). Your feedback helps make this recipe even better for fellow bakers. For more recipe inspiration, check out Recipes Loop.
Tag me on social if you share your masterpiece. Nothing beats that proud “I made this!” moment when pulling fresh bread from the oven. Happy baking, friends!
For more delicious recipes and cooking inspiration, check out recipesloop.com.
Classic White Sandwich Bread
Ingredients
Equipment
Method
- Preheat the oven to 375°F (190°C). Grease a loaf pan.
- In a mixing bowl, combine the gluten-free flour, sugar, salt, and yeast.
- Add the warm water, olive oil, and eggs to the dry ingredients. Mix until a smooth dough forms.
- Transfer the dough to the prepared loaf pan. Smooth the top with a spatula.
- Bake for 40 minutes, or until the bread is golden brown and sounds hollow when tapped.
- Let the bread cool in the pan for 10 minutes before transferring to a wire rack to cool completely.


